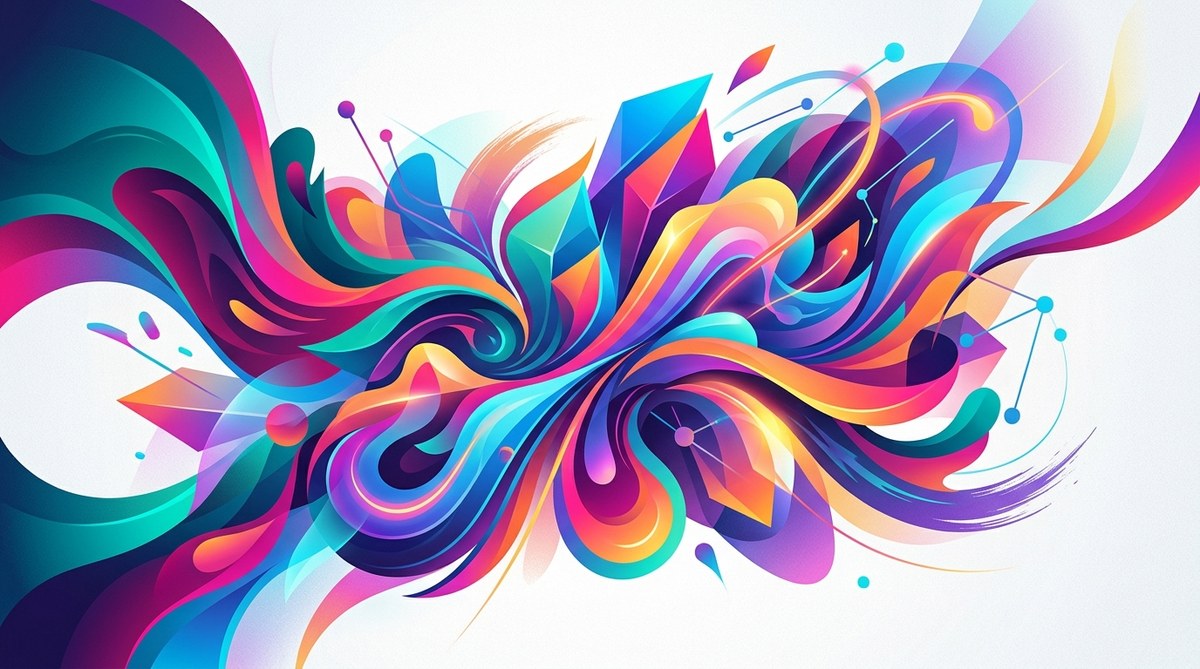
Gradients are the secret weapon in a vector artist’s toolkit. A flat fill communicates a shape, but a well-placed gradient communicates light, volume, and atmosphere. For years, many designers treated gradients as a simple linear fade from dark to light. That approach leaves a lot of potential on the table. When you start thinking of gradients as a way to map color temperature, simulate subsurface scattering, or create a faux-photographic depth of field, your vector illustrations stop looking like flat shapes and start looking like polished artwork. This tutorial is built for intermediate and advanced illustrators who already know their way around the Pen tool and want to push their color work further.
Mastering vector gradients means moving beyond the basic linear fill. You need to control color stops, blend modes, and gradient paths with intention. This guide walks through the three gradient types every illustrator should own, a repeatable process for building a gradient palette, and the five mistakes that kill professional results in 2026.
Building a Gradient Mindset
Gradients are not decoration. They are a structural element of your illustration. When you add a gradient to a shape, you are telling the viewer where the light source is, how reflective the surface is, and what time of day it is. A metallic sphere in a sunset scene should have a very different gradient map than a matte plastic object under fluorescent lights.
The first step is to stop treating gradients as a single effect. Instead, treat them as a system of color stops that you control. Every gradient is just a series of anchor points on a spectrum. The more intentional you are about those anchor points, the more control you have over the final piece.
The Three Core Gradient Types for Vector Work
Most vector software offers at least three gradient tools. Each one serves a different purpose in your illustration pipeline.
Linear Gradients for Structure
The linear gradient is the most common, but it is also the most misused. A linear gradient creates a straight-line transition between two or more colors. Use it for sky backgrounds, flat ground planes, and any surface that has a consistent light source from one side.
The mistake most designers make is using only two color stops. A professional sky gradient might have five stops: a deep indigo at the top, a cyan in the middle, a warm peach near the horizon, and a soft pink at the very bottom. That extra stop creates a realistic atmospheric perspective.
Radial Gradients for Light Sources
Radial gradients radiate outward from a center point. They are perfect for simulating a spotlight, a glow behind a subject, or a lens flare. When you use a radial gradient, pay attention to the center offset. Moving the center point off-center makes the glow feel more natural, as if the light source is just out of frame.
A common technique in 2026 is to stack two radial gradients on the same shape. The first gradient uses a warm color with low opacity. The second gradient uses a cool color with a tighter radius. This creates a color contrast that feels rich without looking muddy.
Freeform Gradients for Organic Volume
Freeform gradients let you place color stops anywhere inside a shape. They are not bound to a straight line or a circle. Use these for organic subjects like skin, fabric folds, or foliage. The gradient stops can be moved independently to follow the contour of the shape.
For example, when illustrating a character’s cheek, place a warm highlight stop near the cheekbone and a cooler shadow stop near the jawline. The freeform gradient allows the transition to follow the curve of the face rather than cutting across it in a straight line.
A Repeatable Process for Building a Gradient Palette
Creating a gradient on the fly often leads to muddy colors. Instead, build a gradient palette before you start illustrating. This saves time and ensures color harmony across the entire piece.
- Choose a dominant light source color. If your scene is lit by golden hour sun, your dominant color is a warm orange. Set this as your first color stop.
- Select a shadow color. The shadow color should be the complementary color on the color wheel. For a warm orange light, the shadow color is a cool blue-purple. This creates natural color contrast.
- Add a midtone stop. Use a desaturated version of your light source color. This stop prevents the gradient from looking like a harsh jump between two saturated extremes.
- Adjust opacity per stop. In vector software, each color stop has an opacity slider. Lower the opacity of the shadow stop to around 70 percent. This lets the base color of the shape show through and keeps the gradient from looking too heavy.
- Save the gradient as a swatch. Name it something descriptive like “Golden Hour Skin.” Your future self will thank you when you need to reuse it across a series of illustrations.
Common Gradient Mistakes That Kill Professional Results
Even experienced illustrators fall into these traps. Here is a table that breaks down the mistake, why it happens, and how to fix it.
| Mistake | Why It Happens | The Fix |
|---|---|---|
| Too many color stops | Trying to add complexity without planning | Limit stops to three or four per gradient |
| Banding in print output | Using low bit depth or wrong color space | Work in CMYK at 16 bit for print projects |
| Flat highlight spots | Using pure white as a highlight stop | Use a tint of the light source color instead |
| Muddy transitions | Mixing complementary colors at equal saturation | Keep one color dominant and the other desaturated |
| Ignoring gradient angle | Applying a default horizontal angle to every shape | Rotate the gradient handle to match the light source |
The Power of Gradient Overlays
One advanced technique that separates intermediate work from professional work is the gradient overlay. Instead of applying a gradient directly to your base shape, create a new shape on top and fill it with a gradient. Then set the blend mode of the overlay to Overlay, Soft Light, or Multiply.
This approach gives you non-destructive control. You can adjust the gradient without redrawing the base shape. It also allows you to apply the same gradient overlay to multiple shapes at once by grouping them.
For example, if you have a group of leaves that are all filled with a flat green, you can place a gradient overlay on top of the entire group. The overlay adds a light-to-dark sweep across all the leaves at once. This creates a unified lighting effect without editing each leaf individually.
How to Use Blend Modes with Gradients
Blend modes change how the gradient interacts with the colors underneath. Here are three blend modes that work especially well with gradients.
- Multiply: Darkens the underlying color. Use a gradient filled with a cool blue set to Multiply to add shadow areas to a shape.
- Screen: Lightens the underlying color. Use a warm yellow gradient set to Screen to add highlights.
- Overlay: Combines the effects of Multiply and Screen. It increases contrast and saturation. Use it sparingly because it can push colors too far.
A practical workflow is to duplicate your base shape, fill the duplicate with a gradient, and set the blend mode to Overlay. Then adjust the opacity of the duplicate until the effect looks natural. This technique is common in professional vector illustrations for branding and editorial work.
Expert advice: “Stop using black and white for shadows and highlights. Black shadows look dead, and white highlights look like plastic. Use a dark version of your local color for shadows and a light version of your local color for highlights. If you want a color accent, use a complementary hue in the shadow stop at low opacity.” — Senior vector artist at a major design studio.
When to Use Mesh Gradients
Mesh gradients are a vector feature that allows you to place color nodes on a grid inside a shape. They are powerful for realistic rendering but come with a cost. Mesh gradients increase file size significantly and can slow down your software.
Use mesh gradients only when you need a high level of realism on a single shape, such as a human face or a reflective product. For everything else, stick with linear, radial, or freeform gradients.
If you do use a mesh gradient, keep the grid simple. A 3 by 3 grid is often enough for a subtle volume effect. Adding more nodes than needed creates a chaotic result that is hard to edit later.
Building a Gradient Library for Your Style
Every illustrator develops a visual style over time. Your gradient choices are a big part of that style. Create a library of custom gradients that reflect your go-to color palettes. Here are a few categories to start with.
- Natural light gradients: Warm sun, overcast sky, blue hour, golden hour.
- Artificial light gradients: Neon glow, tungsten bulb, LED cool white, stage spotlight.
- Material gradients: Polished metal, matte plastic, frosted glass, liquid surface.
- Atmospheric gradients: Deep fog, haze, underwater, twilight.
Save these as swatches in your vector software. When you start a new illustration, load your gradient library first. This sets the visual tone before you draw a single shape.
How Gradients Fit into a Larger Vector Workflow
Gradients are one part of a larger system. They work best when combined with solid fundamentals like anchor point control and layer management. If you are still struggling with clean curves, focus on that first. Gradients will not fix a poorly drawn shape.
For a deeper look at the fundamentals, check out this guide on mastering vector art techniques for stunning digital creations. It covers the building blocks that make gradient work shine.
Once you have the basics down, you can start experimenting with more advanced color strategies. The article on innovative digital illustration techniques to elevate your creative projects offers ideas for combining gradients with other effects.
Putting It All Together in a Real Project
Let us walk through a short project to see these principles in action. Imagine you are illustrating a glass bottle on a wooden table.
Start with a linear gradient for the background. Use a soft beige at the top and a warm brown at the bottom. This establishes a tabletop environment.
For the bottle, use a radial gradient on the glass body. The center of the gradient should be off to the upper left, matching your light source. Use a pale cyan for the center and a dark teal for the outer edge. Set the blend mode to Screen at 40 percent opacity over a base fill of transparent white.
For the wooden table, use a freeform gradient on the tabletop shape. Place a warm highlight stop near the bottle and a cooler shadow stop at the far edge. This creates the illusion of reflected light from the bottle onto the wood.
Add a highlight shape on the bottle using a linear gradient from white to transparent. Rotate the gradient handle to match the angle of the bottle’s curve. This one small detail sells the glass texture.
The result is a vector illustration that feels dimensional and polished, all built with gradients and flat shapes.
Your Next Steps with Vector Gradients
Gradients are not a shortcut. They are a craft. The more you practice controlling color stops, blend modes, and gradient paths, the more natural your vector illustrations will look. Start by building your gradient library this week. Pick three lighting scenarios and create five gradients for each. Use them in your next illustration and compare the result to your previous work.
For more inspiration, look at the showcase of innovative vector artists shaping the future of digital design. Notice how they use gradients to define light and space. You will start seeing gradient techniques everywhere once you train your eye.
The best way to master gradients is to use them with intention. Open your vector software right now and rebuild an old illustration using only gradients for shading. No drop shadows, no blur effects, just color stops and blend modes. That exercise alone will change how you approach your next project.